How long does it take to stud a snowmobile?
It takes about 12 beers to stud a snowmobile. All kidding aside, studding a snowmobile usually takes 1.5-4 hours, depending on the amount of studs and experience. We’ll review the variables that can lengthen or shorten the installation time and some tips and tricks to speed up the process!
Is it hard to install snowmobile studs?
If you can follow our detailed instructions, operate a drill and impact, it is a very easy process. The biggest potential for error is the location of drilling and we eliminate that with our templates. We also have a 17 minute how-to video on installation to walk you through every step of the process.
Do it as a batch process!
You want to split up each install process into a separate activity. You don’t want to mark, drill, install, and tighten a stud in each row. It’s best to mark the track first, drill all the holes, push through the studs, add backers and nuts, and tighten.
Laying out the template

The first thing that is done when installing studs is marking the layout. With a pattern, this can take 10-20 minutes.
Laying out a custom one can take hours. That’s where we come in with our TracSpec Templates: the quickness of an off-the-shelf template but the quality of a custom laid-out template to get the most scratch lines. There is no downside to this setup! Each Top Gun Stud kit includes access to our 80+ custom template library.
Drilling

The following process is to drill the track. The first few holes will be more challenging as the track-cutting tool is cold. Once it heats up, cutting will go quicker. You can use a torch to heat the bit to speed up the first few rows. An average of 10 seconds per hole for drilling, including rotating the track and clearing the track plugs. That is about 16 minutes for a 96 kit and 24 minutes for a 144 kit.
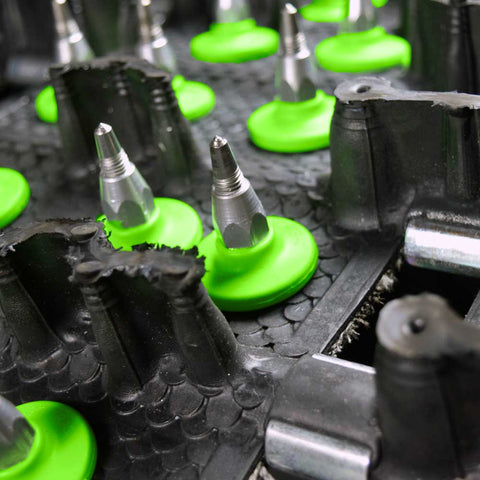
Pushing studs through

Once all the holes are drilled, you’ll want to push the studs into the track. Figure an average of 10 seconds per stud on this, bringing you to the same time of 16 minutes for a 96 kit and 24 minutes for a 144 kit.
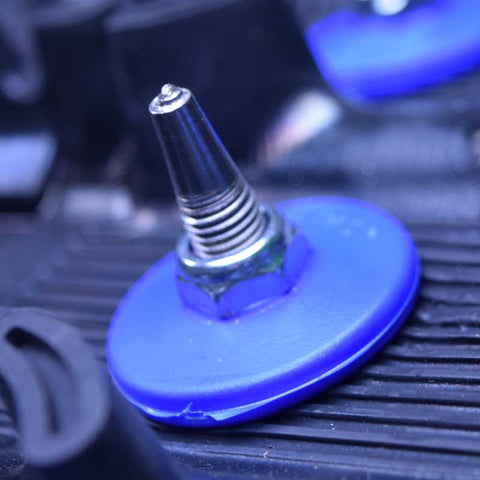
Adding backers and threading nuts
This is a quick process where you add the backer and start the nut on the stud. You can figure 8 seconds per stud, so you are looking at around 13 minutes for the 96 kit and 20 minutes for the 144 kit.
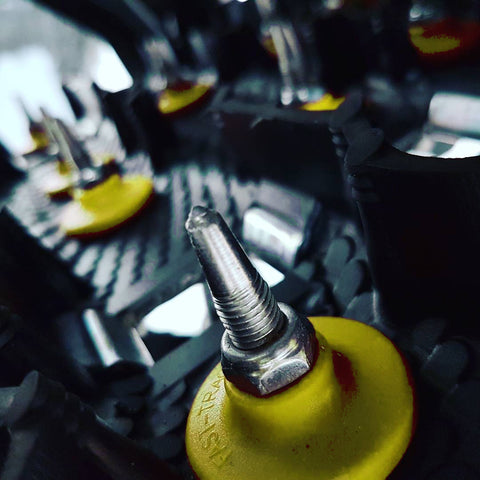
Tightening the stud kit

The last step in the installation is tightening the studs. With this step, we figure an average of 12 seconds per stud using an impact. This can balloon out to 30 seconds or more with hand tightening, so we highly recommend using power tools!
Another factor is our kits do not require a torque spec. Almost every other kit on the market does, and that would require tightening by impact initially and going back and using a torque wrench for the final tightening, which adds more time to the install.
Conclusion
Ultimately, you would look at about 82 minutes of actual installation time with our 96 kit. We did not factor in getting the sled on a lift, gathering tools, tunnel protector installation, belt removal and installation, and track tension adjustment, so it’d be safe to figure about 2 hours on average for the whole ordeal. Remember that our kits are one of the fastest to install as we don’t require torquing each stud, and our patterns are quick to mark but have the scratch lines of a meticulously laid out custom pattern.
Top Gun Stud Kits

Top Gun II Kit 1.175-1.375
Top Gun SP Kit
Top Gun II 1.000"-1.075"
Top Gun II 1.500"-1.920"
Find Your Perfect Stud Kit
Get a personalized recommendation in 30 seconds